Pages

Friday, August 2, 2013

Zucchini Bread

Hey all! I know it has been a while since I've updated you all with some delicious recipes, but on that note, I am enjoying Summer to the full extent! And frankly, I have been eating a lot of pizza. Anyone that knows me knows I LOVE pizza!! There are so many combinations, I just can't get enough!

So, onto zucchini bread. I received a big 'ol zucchini a few days ago and have been waiting for the perfect chance to make the delicious bread. My family loves it, my boyfriend loves it, and so do I! A regular at my work who was gracious enough to give me the green giant NEVER had zucchini bread before! I told him he was in for a treat! I searched around for a healthier version and found a great recipe from food.com. I have to give it a two thumbs up! This bread is fantastic and the person I gave it to loved it as well!

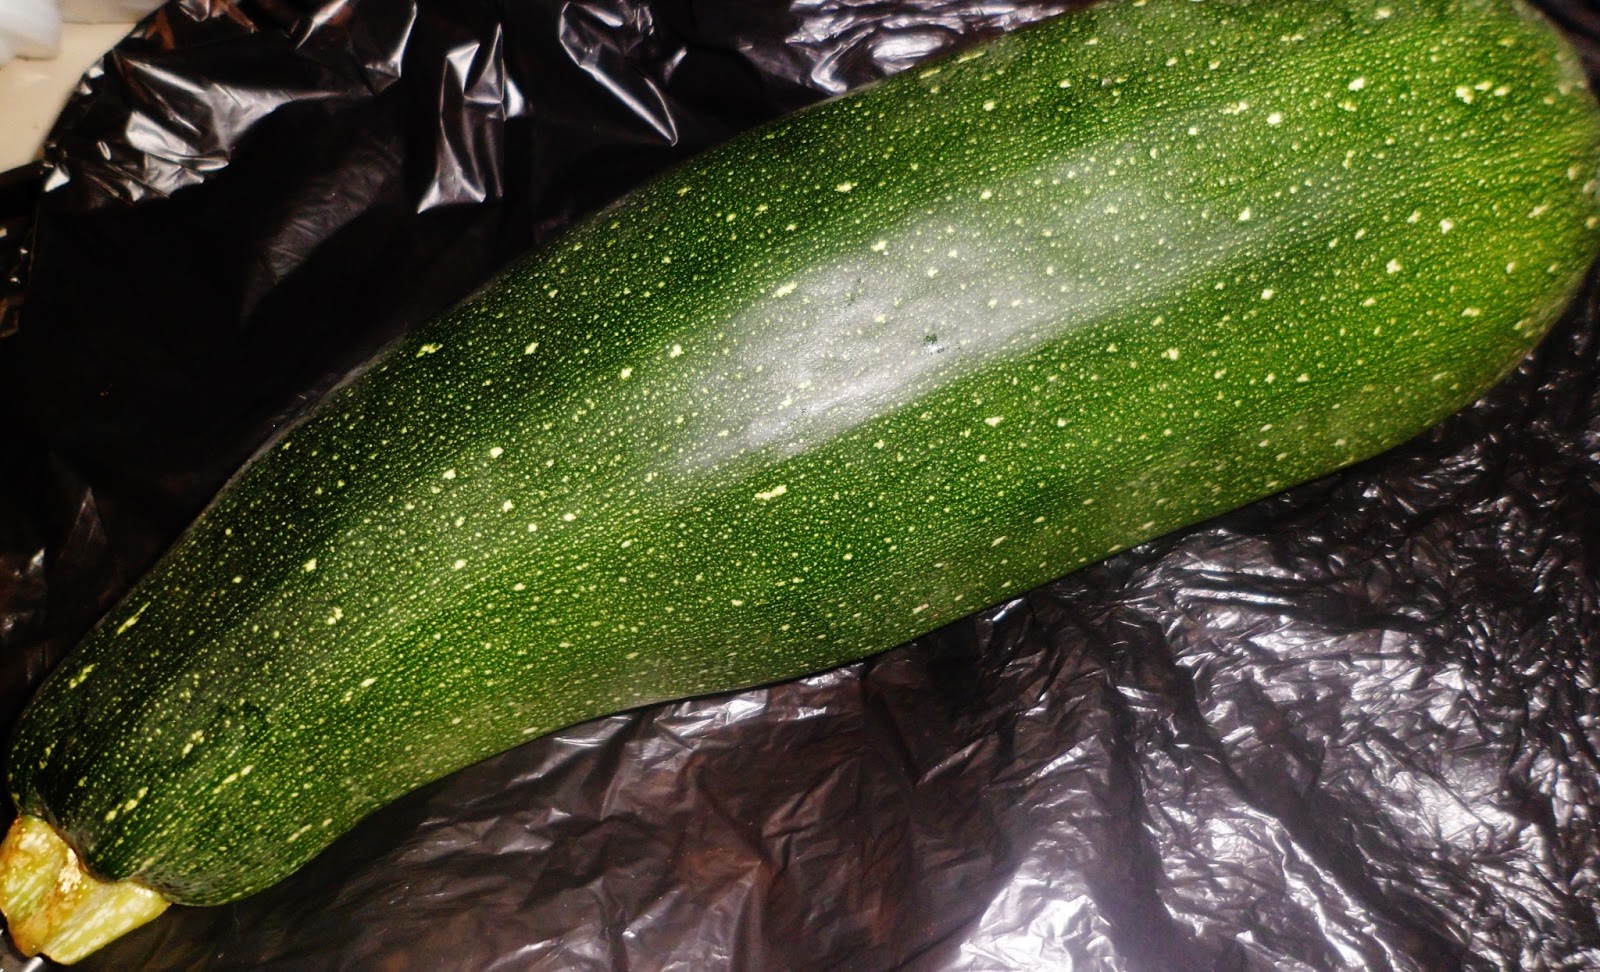
I wasn't kidding. Check this bad boy out! And I only used half for this recipe!

*I did make some changes after looking at the comments on the site and personal preference, so if you would like the original recipe, please refer to the website above.

Zucchini Bread
Makes 1 loaf

1 1/2 C. Flour
1/2 C. Brown Sugar
1/2 C. Sugar
1/2 Tsp. Baking Soda
1/2 Tsp. Baking Powder
1/4 Tsp. Salt
1 1/2 Tsp. Cinnamon
2 eggs
2 1/4 C. Zucchini (About 2 medium)
1/4 C. Oil
1 1/2 Tsp. Vanilla

Preheat oven to 350 degrees.  Mix dry ingredients in a small bowl.  Mix wet ingredients in a large bowl. Combine the dry with the wet ingredients. Add to a loaf pan sprayed with cooking spray(or greased if you prefer). Bake 40-45 minutes, until a knife comes out clean when poked in the middle of bread. Let cool in pans for about 10 minutes.

I doubled it and made 2! The pan on the left is slightly larger than the pan on the right so the zucchini bread wasn't as thick, but it still tasted just as good!


**You can make zucchini bread using cake mix as well. I tried it out, but failed to take pictures. The recipe is from the Duncan Hines website. That one is a keeper as well!


Sunday, July 28, 2013

Part 2: Shark Ice Cream Cake

So this is the cake I made for my sister's birthday this year! It is my version of the Cold Stone Creamery Bites Cake. Although it is best not to make the cake in 85 degree weather because it is an ice cream cake, I think it came out pretty decent despite the weather conditions. Probably took me about 3-4 hours to make the cake and that includes a few freezer times. Oh my goodness I would start to frost the cake and it would start to melt! But the outcome was worth it because she loved it! I would recommend freezing the cake several hours so it can set up before serving. Mine set up for only 1 1/2 - 2 hours before serving and it was a little melty.

On the Cold Stone website, the description for the shark cake stated that graham cracker crumbs were used for the sand effect. Silly me forgot to pick up the graham cracker crumbs on the way to the location of the party to make the cake whoops! So I used what I had on hand. Ground peanuts.

It kind of gives it like this peanut buttery taste. Yumm! It's a fun little cake to make!

Shark Ice Cream Cake
makes an 8 or 9 in. layer cake
Serves about 8-10 people

1 box marble cake mix, plus ingredients to make
(can use chocolate or just vanilla as well!)
2 1/2 tubs of vanilla frosting
(may have a little left over)
1 pkg of blue gummy sharks
(I found them at 7-eleven)
about 5 cups of cookies n' cream ice cream, softened
about 1 cup of ground peanuts
blue food coloring

Prepare the marble cake according to package directions for 2 round cake pans. Meanwhile in another cake pan the same size as the cake, cover the inside of the pan with plastic wrap and let it hang off the sides a little bit. Lay the ice cream into the cake pan and spread it around into an even layer. Put into the freezer for at least an hour, preferably a couple. Allow the cakes to cool completely. dump all of the frosting, except for about 3/4 cup, into a bowl. Squeeze several drops of blue food coloring into the frosting in the bowl to turn it blue. Put a thin layer of blue frosting on top of the bottom layer. Top with the chilled ice cream.(From this point on, it has to be made quick, or it will need to take several trips back to the freezer to refreeze) Just pull the ice cream out using the plastic wrap sides. Top with 2nd cake layer and frost the entire cake with the blue frosting, remember it doesn't have to be perfect. It is water! So for the next step, I put the remaining frosting
in a pastry bag with a small star tip. I pipe little rosettes or white caps for the sharks to perch on. Finally, garnish the bottom sides of the cake with the ground peanuts or graham cracker crumbs and top the white caps with the sharks. Now hurry up and throw it in the freezer before your masterpiece melts!

Patience is totally worth it here. Although I clearly don't have patience taking pictures of this cute cake!

There we go! I think this is the only time I would not be intimidated by great whites. They are actually really good eaten with cake and ice cream! 

Um well... the gummy sharks that is!


Friday, July 26, 2013

Part 1: Reeses Cake

I am the family baker, and I don't mind that title one bit! I enjoy making the birthday cakes, anniversary cakes, just because cakes. Don't even get me started on the cookies, brownies, trifles... the list goes on. But like I said, I love it! So my sister and I are very much alike in the food department. We love sweets! And we are not afraid of trying something new. With that said, I ask her every year what kind of cake she wants for her birthday because it is never traditional.

Last year's cake was something I wanted to try and of course she didn't hesitate to say yes because, like me, she can't say no to Reeses, peanut butter, and chocolate.

The first bite, I was in love. I'm usually not one for chocolate cake, but the peanut butter just brings it to a whole new level. The combination of the two is just out of this world. Of course you have the additional chocolate ganache layer on top. Yummyyyy! And very rich! The average person might take a small slice of this sweet concoction, but we are anything but average so a good chunk was gone between the 5 of us!
I introduce to you, Reeses cake!

Reeses Cake
Makes a 2 layer 8 or 9 inch cake

1 box Devils Food cake mix, plus ingredients to make
(or you can use your favorite chocolate cake from scratch!)
10 snack size Reeses cups, quartered
3 tubs of vanilla frosting
(you may have left over, but it's better to be safe then sorry!)
3/4 C. Peanut butter
1 tsp. Vanilla
Chocolate Ganache, recipe follows

Prepare the chocolate cake according to package directions for round cake pans. Cool completely. I put mine in the freezer to stiffen up a bit. Meanwhile, mix the tubs of the frosting with the peanut butter, add in the vanilla. (I may have overloaded the cake with frosting, but we liked it that way. If you prefer less frosting, you may have leftovers!) When the cake is cool, spread some frosting between the cake layers and spread more frosting on top and down the sides. If the frosting becomes too stiff, water it down or add a little milk. Top with ganache, forcing it to go down the sides a little bit using the back of a spoon. Top with Reeses cups! I left one whole one for a little decoration.

Chocolate Ganache

8 oz. semi sweet chocolate
1 C. heavy cream
1 Tbsp. unsalted butter, room temp.

Put chocolate in a heat proof bowl. Pour heavy cream in a small saucepan and bring to a simmer over medium heat. Pour over chocolate and let stand for about 5 minutes, until chocolate has softened. Add butter and stir until smooth. Cool slightly, don't want to melt the frosting!

It gets a little messy, but it's all worth it!!

Part 2 is the shark cake, which I am making in a couple of days so stay tuned!


Friday, July 19, 2013

Dog Days

The dog days of summer are upon us. I've been trying to spend as much time outside as possible! Today is around 100 degrees, but there is a nice breeze. Yesterday my parents, sister, and I went to Boothbay Harbor. Yes, in Maine. It is ALWAYS a fun time visiting that area! So many shops and of course it is right by the ocean. If you are ever in the area, I suggest you check it out! The ride up is wonderful as well because there are different shops you can stop at and buy homemade furniture, different items for the garden, lobster traps, the list goes on. So we stayed at Boothbay Harbor for probably about 4 hours easily. The time flies because there is so much to do, but we were definitely ready for the ride home.

We ate at Boat House Bistro. They have an array of sandwiches, salads, tapas, and of course seafood. My mom had a chicken caesar salad, my dad had beef sliders, my sister had a grilled cheese, and I had a Vegetable Griller which is a grilled veggie flatbread sandwich. All of our entrees came with waffle fries which were perfectly seasoned and delicious! They have two different levels in which customers can eat. We ate at the very top deck which is up three flights of stairs. Well worth it though! There is a beautiful view of all the boats in the water.
So while my sandwich is facing the wrong way for you to see the goodness inside, I can tell you that it had grilled squash, asparagus, and zucchini. It usually comes with tomato and herb mayonnaise, as well as Manchego cheese. I wasn't feeling the extras though, so I stuck with just the trio of veggies. Still delicious! And the waffle fries, oh man! I was full after the sandwich, but just couldn't waste the fries! I will be going back before the summer is over.

I really couldn't see myself sweating over a hot stove today, so I had another sandwich day. This time italians. The basic turkey and cheese for my boyfriend, but for me...I like to spice things up a bit.
Turkey, tomatoes, onions,tabouli(click for recipe), and pickles. That is MY kinda sandwich right there! I could have made it veggie only, but I added a thin layer of turkey just because I had it on hand. 
Tadaaaa!

Tuesday, July 16, 2013

Skillet Lasagna

So it's currently 90 degrees over here on the East coast with 70% humidity and I have been craving comfort food like my life depends on it! Turning on the oven in this heat doesn't really appeal to me, but I really NEED lasagna in my life. I found a recipe over at Comfortable Food that I got really excited about! Layers of ground turkey mixed with onions and garlic, lasagna noodles, and sauce. The ricotta topping completes this tantalizing dish. This makes BIG portions as well! I'm sure the leftovers are just as good, if not better as all of the ingredients and spices chill and become more intense.


Skillet Lasagna
Makes 4 big servings

1 cup ricotta cheese
1/4 cup parmesan cheese, finely grated
1 large egg
salt and pepper, sprinkle generously
1 tbsp olive oil (I used cooking spray)
1 small onion, finely diced
3 garlic cloves, minced
1 lb ground beef (I used lean ground turkey)
2 Tbsp italian mixed herbs(I just used oregano and parsley)
1 15 oz can diced tomatoes, with liquid
1 cup water
1 15 oz jar italian pasta sauce
10 - 12 lasagna noodles, broken into pieces
(I used oven ready noodles)
*This dish can be placed in the oven during the last 10-15 minutes to bake the ricotta mixture. I just used a large skillet on the stove top and covered the pan.* Refer to original recipe for the oven version.

Mix together the ricotta, Parmesan and egg. Add salt and pepper and set aside. In a large skillet, heat the oil cooking spray over medium low heat. Add the onion and cook for about 3-5 minutes, until softened. Add the garlic and cook another minute. Increase the heat to medium high, add the ground beef turkey. Stir and cook until no longer pink.  Stir in the Italian herbs parsley and oregano, add more salt and pepper, and cook out all of the liquid. If not using lean meat, you may need to drain the pan of excess juices. Stir in the tomatoes, water, and pasta sauce, then add in pasta pieces(stir them around in the sauce and cover as much as possible), bring to a boil. Reduce heat to a simmer and cook for about 20 minutes, until the noodles are soft. Dollop the ricotta mixture over the top of the pasta mixture, cover skillet and cook for 10 minutes. Remove from stove stop and allow to cool for about 10 minutes before serving.

HUGE!
Don't worry, the scraps left in the side of the pan were taken care of immediately after taking the picture. ;)


Please excuse me while I go stuff my face.
Enjoy folks!


Friday, July 12, 2013

Whoopie Pies

It has been a very sluggish day! It is beautiful outside, the sun is shining, the birds are singing, not a cloud in the sky. And I don't feel like doing ANYTHING! Well it's also my day off from work, so I guess I feel like I don't have to be in a rush to do anything. Ah yes, there's the reason! What I really wanted to do was make these pies of deliciousness. Who doesn't love a yummy whoopie pie every now and then? Sweet frosting sandwiched between soft chocolatey shells. Oh yes. I don't make them very often, but when I do, they don't last long. Even with just the two of us here! 

I found this recipe over at King Arthur Flour and it made pretty good pies! I did make some changes, using ingredients I had on hand. I use to make pumpkin chocolate chip whoopie pies all the time as well, using a recipe I learned in Culinary school. There are SO MANY different flavor combination to use for these pies. The possibilities seem endless. Get creative! What are your favorites?

I also didn't make the filling recipe on the website because I didn't have all of the ingredients on hand, but I did have canned frosting so I improvised.  There are some comments on the bottom of the website page making references to the frosting that you may want to take a look at.

Whoopie Pies
Makes 7 or 8 large pies

  • 1/2 cup butter
  • 1 cup brown sugar, packed
  • (I used 1/2 brown sugar 1/2 regular sugar)
  • 1 teaspoon espresso powder, optional(I left out)
  • 1 teaspoon baking powder
  • 1/2 teaspoon baking soda
  • 3/4 teaspoon salt
  • 1 teaspoon vanilla extract
  • 1 large egg
  • 1/2 cup Dutch-process cocoa(I used regular cocoa)
  • 2 1/3 cups All-Purpose Flour
  • 1 cup milk

filling

  • 1 cup vegetable shortening
  • 1 cup confectioners' sugar
  • 1 1/3 cups Marshmallow Fluff 
  • 1/4 teaspoon salt dissolved in 1 tablespoon water
  • 1 1/2 teaspoons vanilla extract
Preheat oven to 350 degrees, Lightly grease cookie sheets. Beat first 8 ingredients in a large bowl until combined(this includes the espresso too). Add in egg and beat until smooth. Stir in cocoa. Alternately stir in flour and milk until all is added. Drop by 1/4 cupfuls onto the greased cookie sheets. Bake for about 15-17 minutes. They will be firm to the touch. Let cool for a couple of minutes then remove from the pans to parchment paper to completely cool.

Frosting instructions here.


MmMmmmMmmmmmm!
Let's get a little closer shall we.
Yes. That's the stuff. Perfect for those Summer gatherings!


Wednesday, July 10, 2013

French Bread Pizza

I was addicted The French Bread Pizza a few months ago. Either I never got over my addiction, or I am hooked again after having these pizzas the other night. I prefer bread with my pasta, or pasta with my bread...you get the picture! I LOVE carbs! This type of pizza is usually made with a nice thick bread, like Italian bread. So why not Italian Bread Pizzas?! That I do not know. I wonder the same thing! 

Anywho, I love the yummy thick, toasted bread. I'm sure many other different bakery breads would work, but like I said before, I like the thickness. The pizza below has bacon for a topping. It has NOT been baked yet.  Yummmmm!!

French Bread Pizza
Makes 2 pizzas

1 loaf Italian Bread
About 1 cup pizza sauce(I used Muir Glen Organic)
Your favorite pizza toppings
1 cup shredded mozzarella cheese
I like to sprinkle mine with dried oregano as well

*I use my toaster oven when making these* I preheat my oven to 450 degrees. Split the Italian bread in half lengthwise preferably with a serrated knife. Spread 1/2 of sauce onto each bread half. Top with toppings and then cheese. Sprinkle with oregano. Bake about 7-10 minutes. The bread will be nice and crispy and the cheese will be all melted.

Fresh out of the oven.

I prefer mine veggie(tomatoes, onion, garlic) and I don't always need the cheese. No cheese you say?! Try sans cheese on this pizza and tell me what you think! (: